Extract from New Data Sources
Connect to New Data Sources
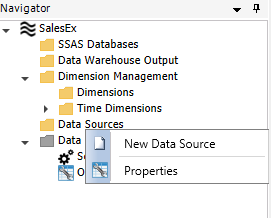
1. In the Navigator Pane; right click 'Data Sources' and then click 'New Data Source'.
2. Select 'Add empty' and click 'Next'.
3. Enter the name and type of your new Data Source. Click 'Next'.

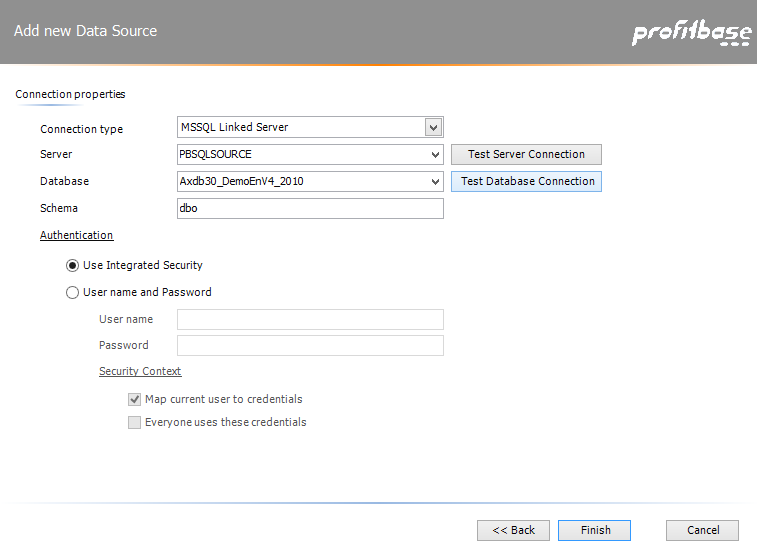
4. Select connection type, server and database. You can test the server and database connections by clicking 'Test Server Connection' and 'Test Database Connection'. When all necessary changes have been made, click 'Finish'.
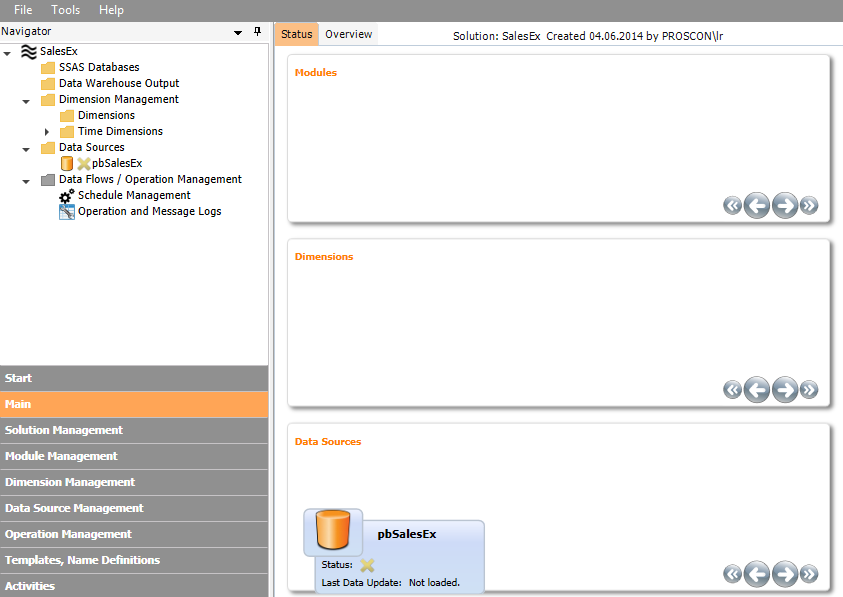
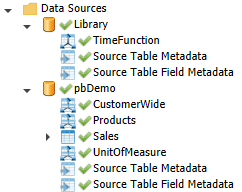
5. Your new Data Source should now appear in the Navigator pane under 'Data Sources'.

6. Profitbase Studio will now look like this:
Add New Data Source Tables
1. Click on the integrated Source Tables under your new Data Source and click 'Process' for all new Source Tables.
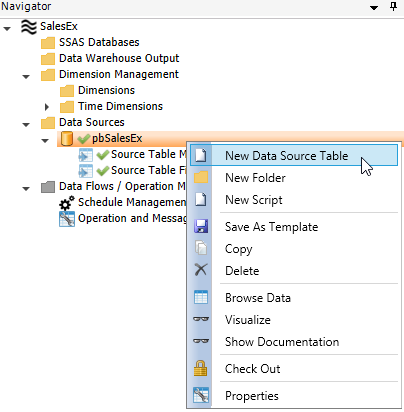
2. Right click your data Source and select 'New Data Source Table'.
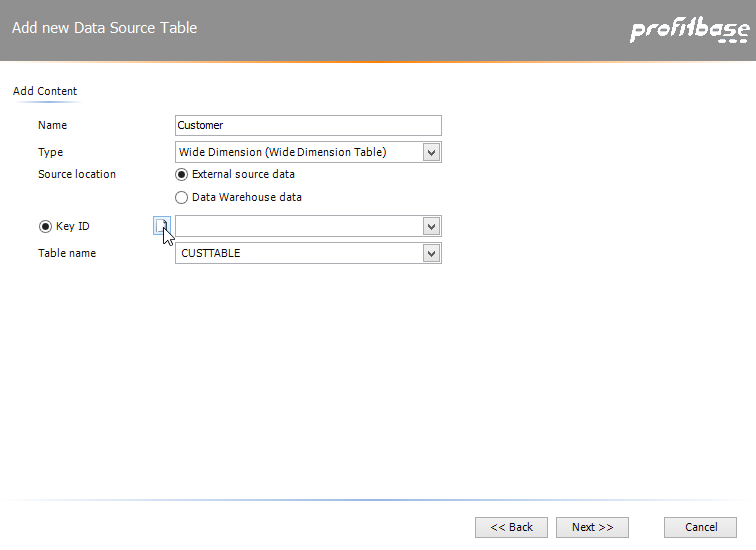
a. Provide a name for the Data Source Table, and select Type and Source Location. You can select a Table name in this step, or leave it blank and follow instructions in step 4 on how to create a source data definition. Click on the icon next to the 'Key ID' drop-down list to add a new Name Definition.
i. Note - if you have not processed the metadata source tables yet, you will not be able to select a table name from the drop-down list in this step.
ii. Note - you can only select one source table in this step. See instructions in step 4 on how to add and connect more tables to create a source data definition.
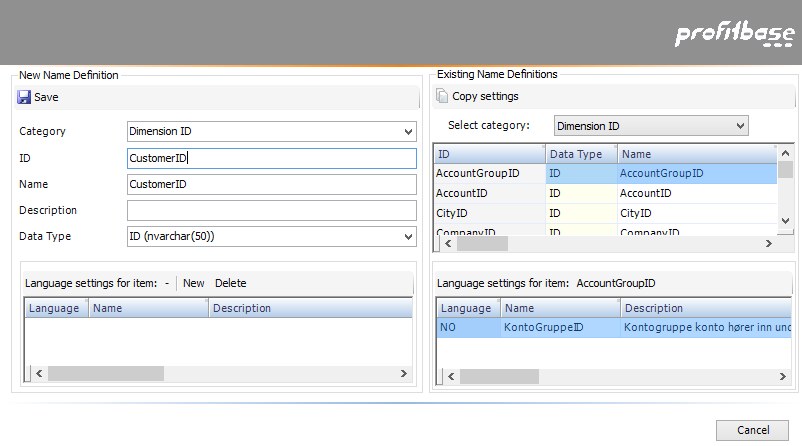
b. Choose a category for your Data Source Table and type in 'ID' and 'Name'.
c. Click 'Save'.
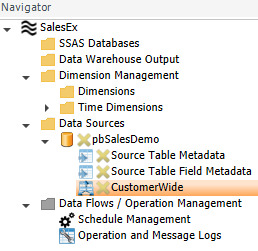
d. Your new Data Source Table should now appear in the Navigator pane under Data Sources->[Your new Data Source.
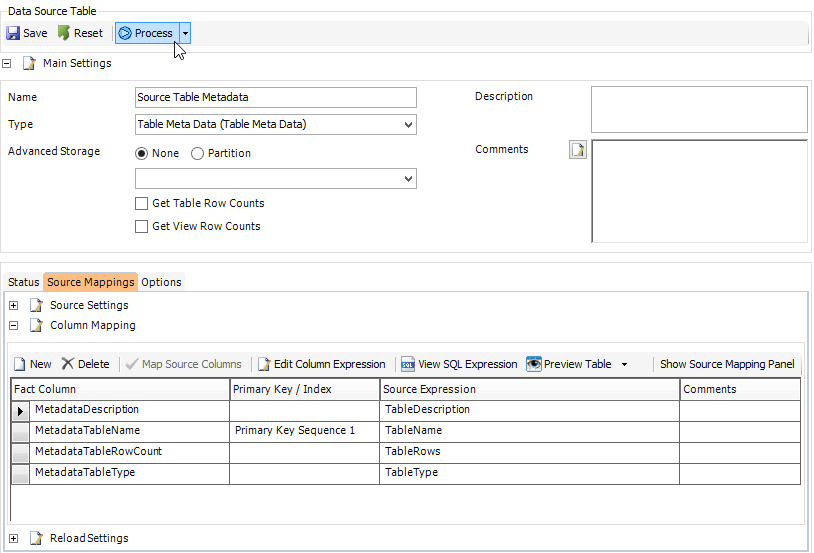
3. Now click on your new Data Source Table and then the 'Source Mappings' tab. You should now be able to see your table ID in the Dimension Column.
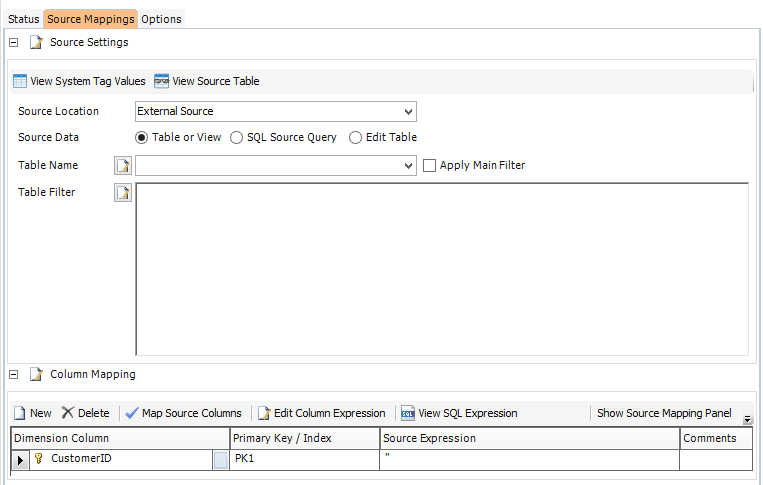
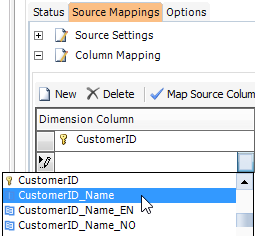
a. Add new name definition IDs by clicking 'New' under Column Mapping. By adding a new Dimension ID, Profitbase Studio automatically creates corresponding Dimension Names. These can be selected from the drop-down menu.
b. To add a new name definition ID, select 'Add New Name Definition ID' from the drop-down list. Select a category and type in an ID name. Click 'Save'.

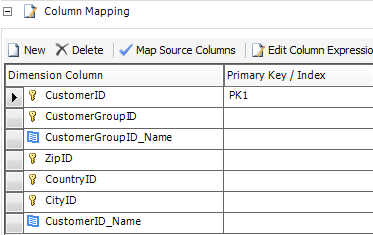
c. You can add several rows in the dimension Column.
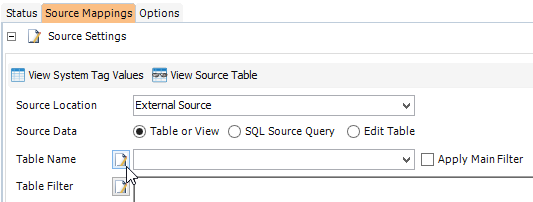
4. If you already selected a source table in step 2a and do not need to add another table to create a source data definition; skip to step 5. To add a table/tables, click the button next to 'Table Name' under 'Source Settings'.
a. Follow the instructions in the dialog box.
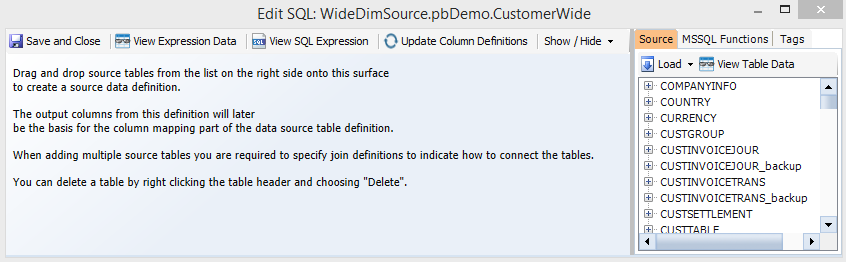
i. If you already selected one of your source tables in step 2a your dialog box will look like this:
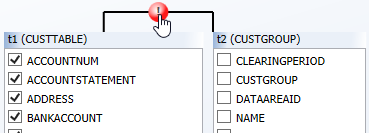
ii. Drag and drop tables from the list to the right into the blue space next to your first table. Click on the red exclamation mark to give a join definition to indicate how these tables are connected.
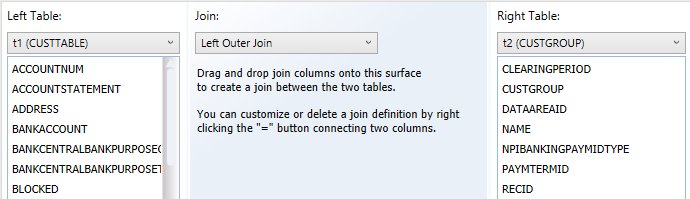
iii. Now follow the instructions in the new dialog box, and click 'OK' when adjustments have been made.

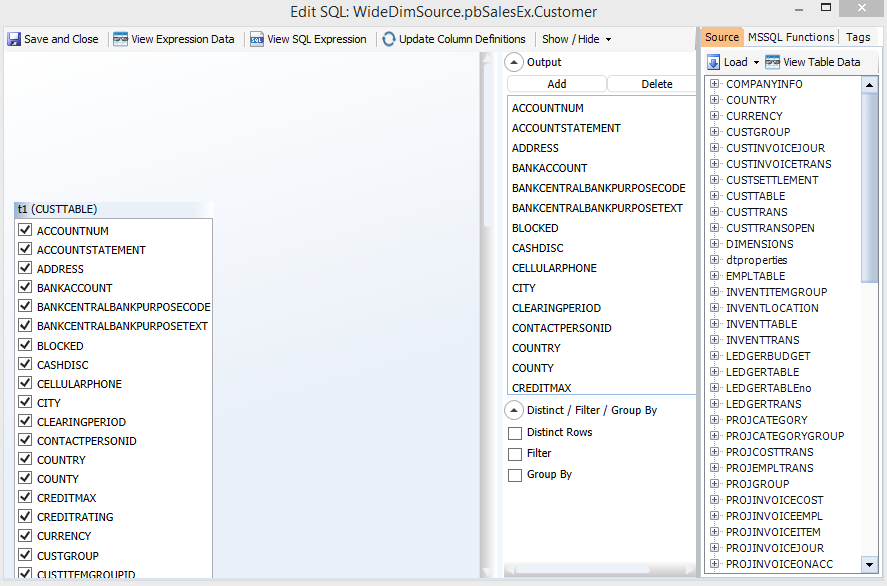
b. The source data definition can look like this:
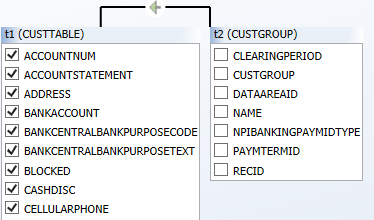
c. All selected columns with different information must have unique names. For example, NAME in 't1 (CUSTTABLE)' does not contain the same information as NAME in 't2 (CUSTGROUP).' You will notice this if you check one name from one table, and the identical name from the other table automatically loses its check mark. If this situation occurs, you will need to change one of the names:
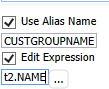
i. Click 'Add' and type in the Alias Name (the new name of the column).

ii. Now type in the name of the column you would like to change; with an indication of which table you are referring to ('t1.[...]' or t2.[...]' etc.):
d. When you are satisfied with your source data definition, click 'Save and Close'.
e. You should now be able to see the added columns under 'Source Settings'.
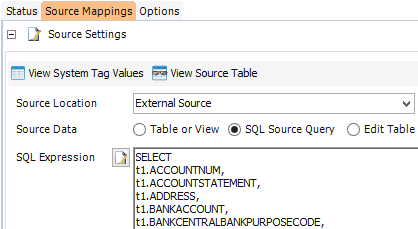
5. Under source settings, click 'View Source Table' to open the Data Source Table.
a. Now drag and drop column names from the source table into the Source Expression cells.
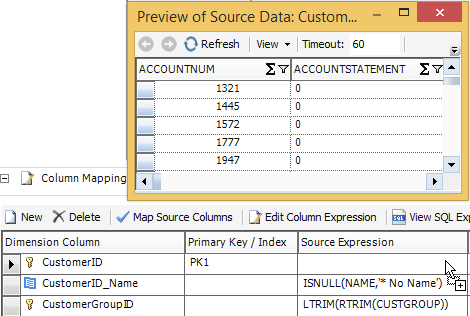
b. When the Source Expression column is fully populated, click 'Save' and then 'Process'.
6. You may create many Data Sources and Data Source Tables.
For more information about data sources, click here: Data Source Management